

How do I install the remote control for LED candle globes?
Sep 30, 2026
Leave a message
Hey there! As a supplier of LED Candle Globes, I often get asked about how to install the remote control for these nifty LED candle globes. So, I thought I'd put together this blog to walk you through the process step by step.
Why Use LED Candle Globes?
Before we jump into the installation, let's quickly talk about why LED candle globes are so popular. These globes offer a warm, inviting glow that mimics the look of real candles. They're energy - efficient, long - lasting, and much safer than traditional candles, as there's no open flame. Whether you're setting up a romantic dinner, decorating for a party, or just want to add some ambiance to your living space, LED candle globes are a great choice. And with a remote control, you can easily adjust the brightness, change colors (if it's a color - changing model), and set timers.
What You'll Need
First off, make sure you have everything you need for the installation. You'll obviously need your LED Candle Globes and the corresponding remote control. Some models might come with a power adapter if they're not battery - operated. You'll also need either fresh batteries for the remote control or a power source for the globes, depending on the type.
Step 1: Check the Compatibility
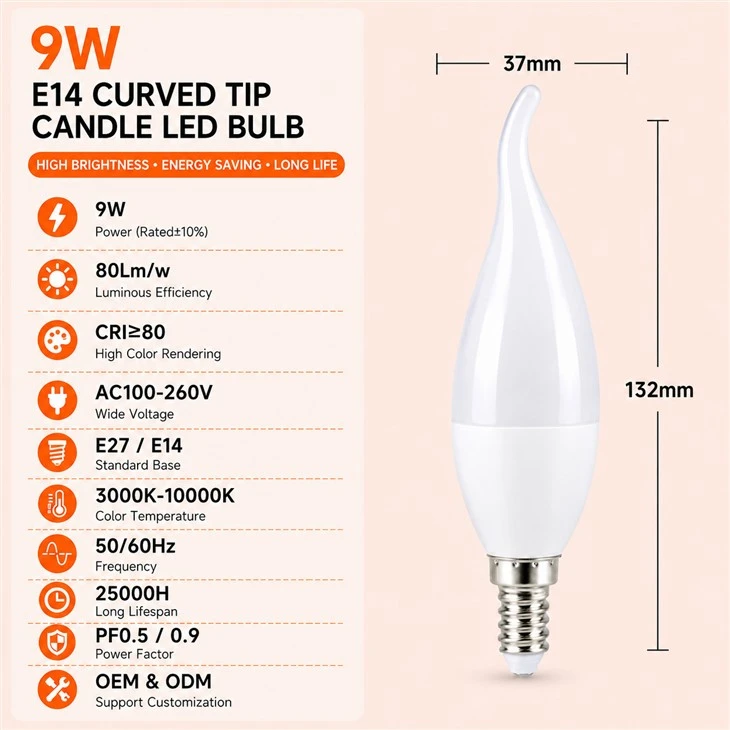
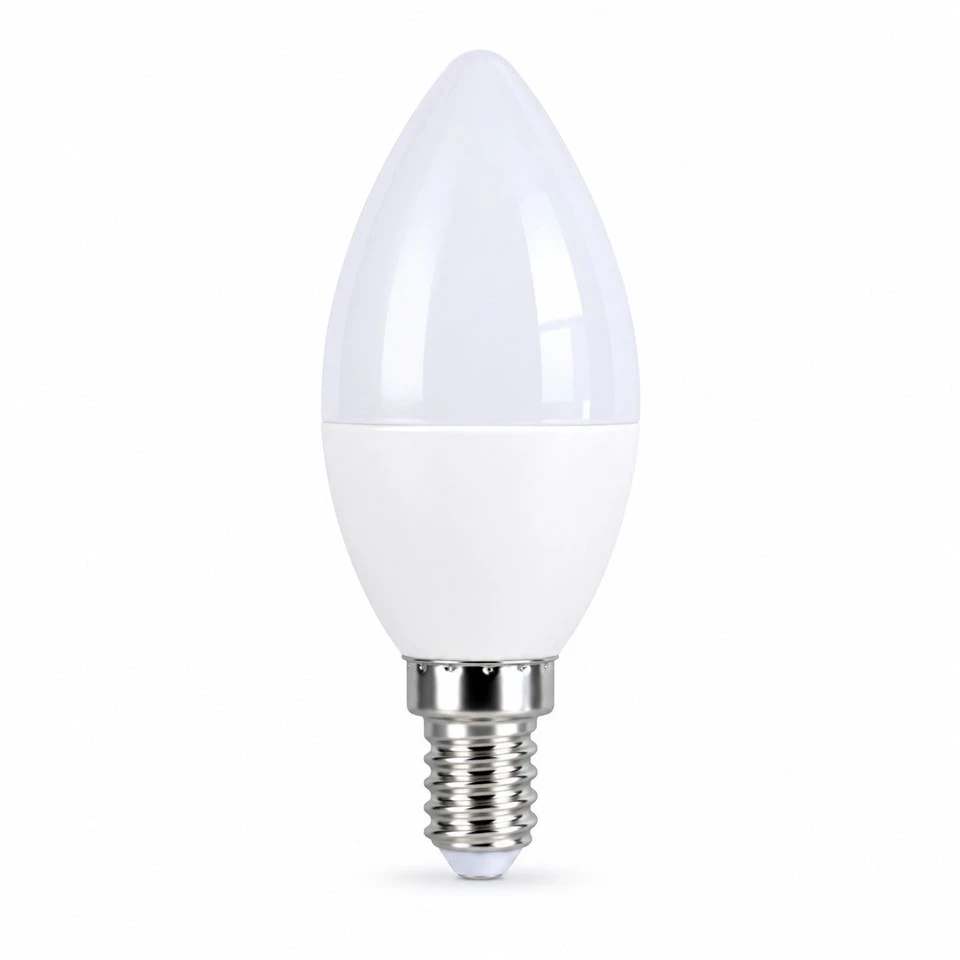
The first thing you gotta do is make sure the remote control is compatible with your LED candle globes. Usually, the remote and the globes come as a set, so this shouldn't be a problem. But if you're replacing an old remote or have bought additional globes later on, double - check the product manual. The manual will tell you if the remote is designed to work with your specific model of 7W LED SES E14 Globe or E14 Bent Tip Candle Bulb.
Step 2: Prepare the Remote Control
If your remote control runs on batteries, open the battery compartment on the back. It's usually a simple slide - or - snap - open design. Insert the correct type of batteries as specified in the product manual. Most remotes use AA or AAA batteries. Make sure you insert them with the correct polarity (the positive and negative ends in the right places). Once the batteries are in, close the compartment securely.
Step 3: Power On the LED Candle Globes
Now, it's time to power on your LED candle globes. If they're battery - powered, open the battery compartment on the globe and insert the appropriate batteries. If they're plug - in models, connect them to a power source using the provided power adapter. Once they're powered on, the globes might turn on automatically or stay in a standby mode.
Step 4: Pair the Remote Control
This is the crucial step. The process of pairing the remote with the globes can vary depending on the model. Here are some common methods:
Method 1: Auto - Pairing
Some LED candle globes have an auto - pairing feature. All you need to do is turn on the globes and the remote control simultaneously. Wait for a few seconds, and they should automatically connect. You'll know they're paired when you can use the remote to turn the globes on and off, adjust the brightness, or change colors.
Method 2: Manual Pairing
If auto - pairing doesn't work or your model doesn't support it, you'll have to do it manually. First, turn on the globes. Then, look for a small button on the base of the globe or on the power adapter. Press and hold this button for a few seconds until the light on the globe starts to flash. This indicates that the globe is in pairing mode.
Next, on the remote control, find the "Pair" or "Connect" button. Press it once, and if the pairing is successful, the flashing light on the globe will stop, and you should be able to control the globe using the remote.
Step 5: Test the Remote Control
Once you think you've paired the remote with the globes, it's time to test it out. Use the buttons on the remote to turn the globes on and off. Try adjusting the brightness levels. If it's a color - changing Bent - Tip Candle Bulb, switch between different colors. If everything works as expected, great job! You've successfully installed the remote control for your LED candle globes.
Troubleshooting
If you're having trouble getting the remote to work, don't worry. Here are some things you can try:
- Check the Batteries: Make sure the batteries in both the remote and the globes (if they're battery - operated) have enough power. Replace them if necessary.
- Distance and Obstructions: The remote control might not work if you're too far away from the globes or if there are objects blocking the signal. Try moving closer to the globes and removing any obstacles.
- Re - pair the Devices: If the pairing was unsuccessful, try the pairing process again. Sometimes, it might take a few tries to get it right.
Conclusion and Call to Action
Well, there you have it! Installing the remote control for your LED candle globes is a fairly straightforward process. These globes really add a special touch to any space, and with the convenience of a remote control, you can create the perfect atmosphere whenever you want.
If you're interested in purchasing high - quality LED candle globes or have any questions about our products, feel free to reach out. We're always happy to help you find the right solution for your lighting needs. Whether you're a homeowner looking to add some charm to your living room or a business owner in need of unique lighting for an event, our LED Candle Globes are a great choice.
References
- Product manuals of LED Candle Globes
- In - house technical knowledge from LED lighting industry experience