

How to install an LED Par Light Bulb?
Nov 13, 2026
Leave a message
Hey there! I'm a supplier of LED Par Light Bulbs, and I'm here to walk you through the process of installing one. Whether you're a DIY enthusiast or just looking to brighten up your space, this guide will make the installation a breeze.
Why Choose an LED Par Light Bulb?
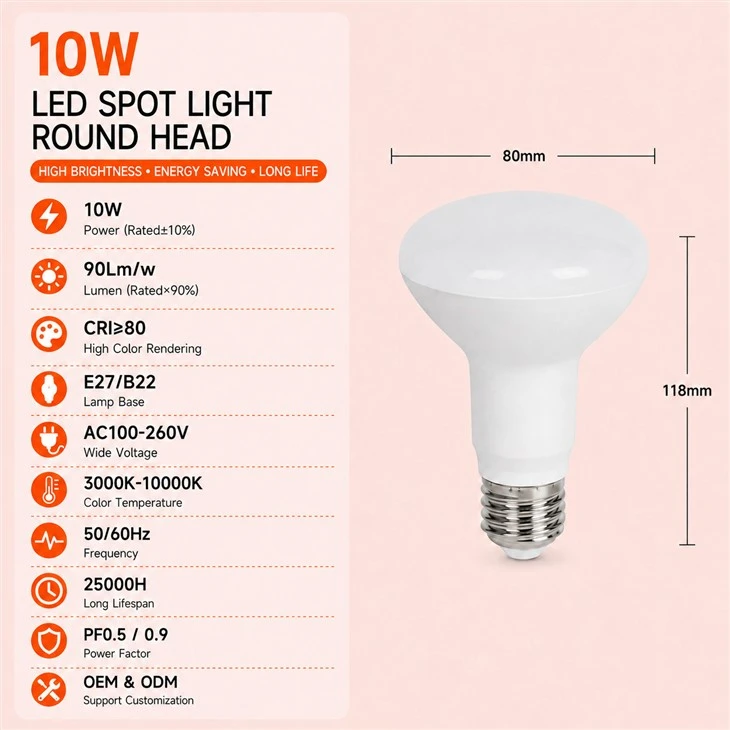
Before we dive into the installation process, let's quickly talk about why LED Par Light Bulbs are a great choice. These bulbs are energy - efficient, which means you'll save on your electricity bills in the long run. They also have a longer lifespan compared to traditional bulbs, so you won't have to replace them as often. Plus, they offer excellent lighting quality, making them perfect for various settings like stage lighting, home decor, and commercial spaces. You can check out our LED Par Light Bulb options on our website.
What You'll Need
First things first, gather the necessary tools and materials. Here's a list:
- The LED Par Light Bulb itself. Make sure it's the right size and wattage for your fixture.
- A ladder if the installation is at a high place.
- A pair of gloves to protect your hands.
- A screwdriver, depending on the type of fixture you have.
Step 1: Turn Off the Power
This is super important for your safety. Locate the circuit breaker that controls the power to the area where you'll be installing the bulb. Flip the switch to turn off the power. You can double - check by trying to turn on the light. If it doesn't come on, you're good to go.
Step 2: Remove the Old Bulb
If there's an old bulb in the fixture, you'll need to remove it. Some fixtures have a simple twist - and - remove mechanism. Just grasp the bulb gently and turn it counter - clockwise until it comes loose. Others might have a clip or a cover that you need to remove first. Use your screwdriver if necessary to take off any covers or clips.
Step 3: Check the Fixture
Once the old bulb is out, take a good look at the fixture. Make sure there are no signs of damage, like loose wires or a cracked socket. If you notice any issues, it's best to get them fixed before proceeding with the new bulb installation.
Step 4: Install the LED Par Light Bulb
Now it's time to install the new bulb. Carefully insert the base of the LED Par Light Bulb into the socket. If it's a screw - in type, turn it clockwise until it's firmly in place. For other types, like plug - in bulbs, just insert the plug into the socket. Make sure it's a snug fit, but don't force it too hard.
Step 5: Replace the Cover (if applicable)
If you removed a cover or a clip in step 2, put it back on now. Use your screwdriver to secure it in place. Make sure it's properly aligned and tightened so that it doesn't come loose later.
Step 6: Turn On the Power
Go back to the circuit breaker and flip the switch to turn the power back on. Then, try turning on the light. If the LED Par Light Bulb lights up, congratulations! You've successfully installed it. If it doesn't, double - check the bulb to make sure it's properly installed and that the power is flowing to the fixture.
Different Types of LED Par Light Bulbs and Their Installation
There are various types of LED Par Light Bulbs, and the installation process might vary slightly depending on the type.
Plug in Spotlight
The Plug in Spotlight is one of the easiest to install. All you need to do is find a suitable electrical outlet. Just plug the spotlight into the outlet, and you're done. You can then adjust the angle of the spotlight to direct the light where you need it.
6W GU10 LED Spotlight
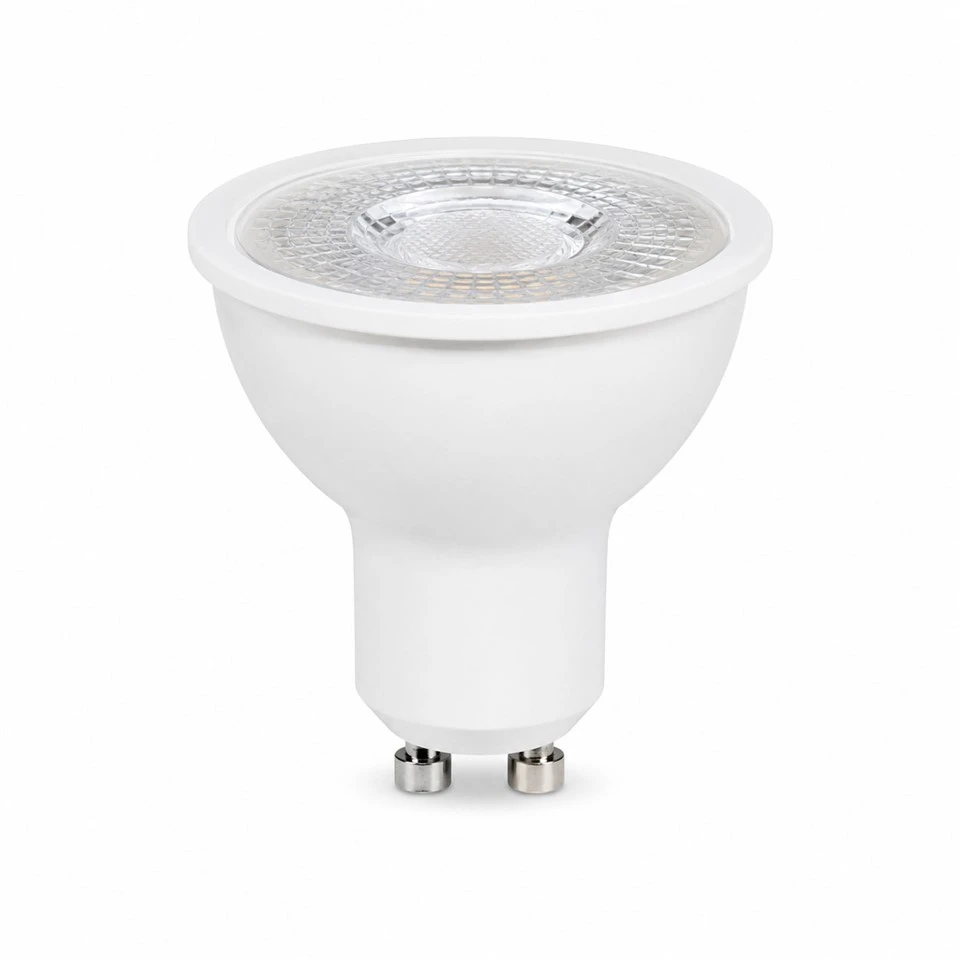
The 6W GU10 LED Spotlight has a specific type of base. You'll need to align the pins on the bulb with the slots in the socket. Gently push the bulb into the socket and then turn it a quarter - turn clockwise to lock it in place.
New LED Par Light
Our New LED Par Light might come with additional features. Some models have adjustable settings for brightness or color temperature. After installing the bulb, you may need to follow the instructions that come with it to set up these features.
Tips for a Successful Installation
- Read the manufacturer's instructions: Every LED Par Light Bulb might have specific installation requirements. Make sure you read the instructions that come with the bulb carefully.
- Don't touch the bulb with bare hands: Oils from your skin can damage the bulb. Always wear gloves when handling the bulb.
- Test the bulb before installation: It's a good idea to test the LED Par Light Bulb in a different fixture to make sure it's working properly before you install it in your main fixture.
Maintenance of LED Par Light Bulbs
Once you've installed your LED Par Light Bulb, it's important to maintain it properly. Keep the bulb clean by gently dusting it with a soft cloth. Avoid using harsh chemicals or abrasive materials. If the bulb starts to dim or flicker, it might be time to replace it.
Conclusion
Installing an LED Par Light Bulb is not as difficult as it might seem. By following these steps, you can have a well - lit space in no time. If you have any questions or need more information about our LED Par Light Bulbs or other LED Spotlight Globes, feel free to reach out. We're always here to help you find the right lighting solution for your needs. Whether it's for your home, business, or a special event, our LED products are designed to meet your requirements. If you're interested in purchasing our LED Par Light Bulbs or any other lighting products, we'd love to have a chat with you. Contact us to start a procurement discussion and let's brighten up your world together!
References
- General knowledge about LED lighting technology.
- Manufacturer's instructions for LED Par Light Bulbs.